Why it works: Venison and butter work together. They rank in the top 16% of all ingredient pairs, and cooks put them together in 957 recipes. Both carry trans-2-nonenal, which smells cardboard, fatty. The science ↓
Venison
Ingredients
Directions
The book gives no oven temperature. The 300°F (150°C) in the steps was added when the recipe was transcribed, as a starting point.
Preheat oven to 300°F (150°C).
Cover the haunch of venison with paste and tie it with pack-thread.
Baste the joint with butter as soon as it is placed in the oven.
Roast a 12 to 18-pound haunch for 3 to 3.5 hours, or a 20 to 25-pound haunch for about 4.5 hours.
Remove the paste, string, and paper 15 minutes before it is done.
Transcribed from a scanned cookbook and modernised for today's kitchens. Where the book gave no heat or time, or said "a moderate oven", the temperatures and times here may be modern equivalents rather than the book's own figures.
Explore the science
The flavor team
The pairs that carry this dish. Each one is judged two ways: how much their aromas overlap, and how often cooks already put them together.
-
Venison + buttertop 16% of all pairsSmell alikemoderateCooked together957 recipes
Shared aroma: trans-2-nonenal (cardboard, fatty).
Ranks compare each pair with 20,000 random ingredient pairs on CompKitchen. How we score pairs
What each ingredient does
- Venison haunch
- Forms the main meat of the dish, and its size sets the roasting time.
- Butter
- Adds moisture and richness to the surface while the joint roasts.
The step that matters
Removing the paste, string, and paper 15 minutes before done. Leaving the paste on until the end keeps the surface protected during the long roast, but removing it shortly before finishing lets the outside brown and crisp. Timing this removal too early or too late changes both the browning and how well the meat is protected.
“What each ingredient does” and “The step that matters” were written by Claude from this recipe’s own method and reviewed in samples by CompKitchen.
You might also like
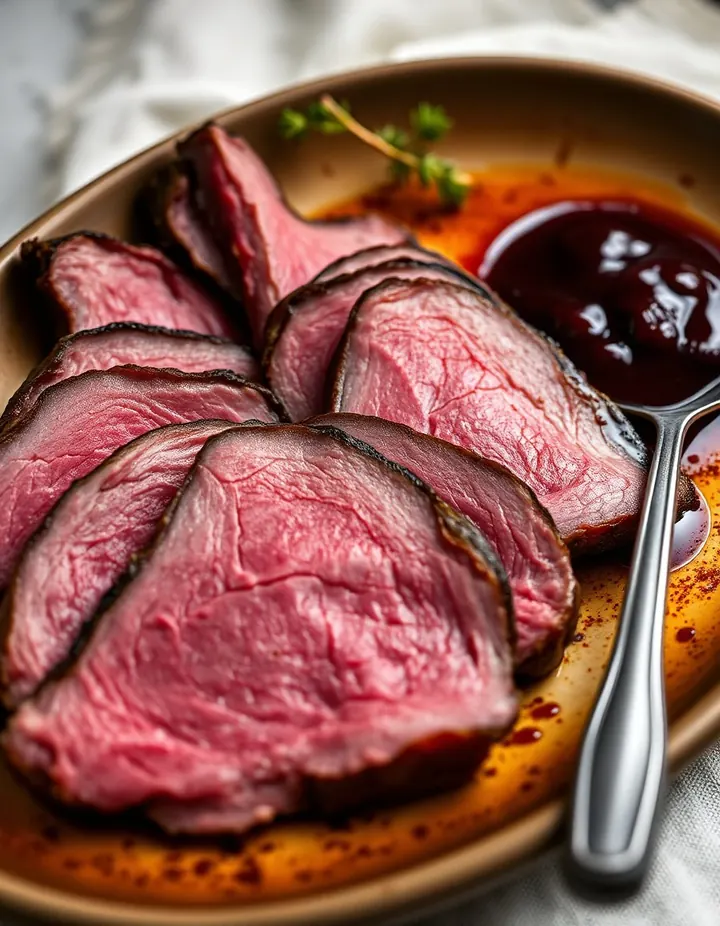 Roast Venison20 recipes
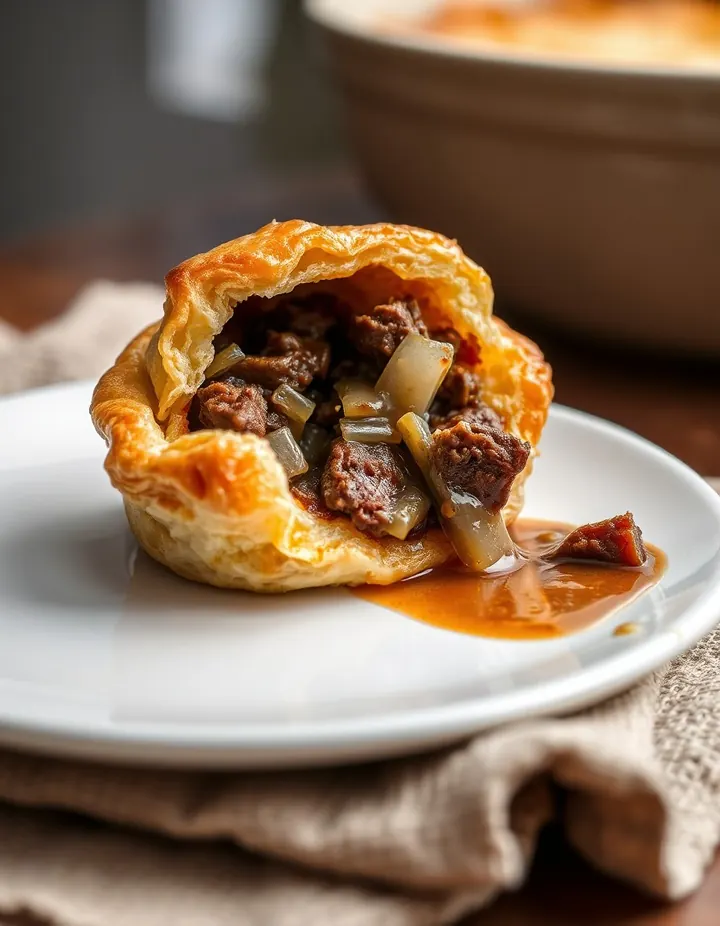 Venison Pasty7 recipes
 Tomato Soup526 recipes
 Brown Bread461 recipes
The free Flavor Lab newsletter: one surprising pairing a week and the molecular reason it works, in 60 seconds. No spam, unsubscribe anytime.
Prefer an account? Create a free account to save pairings and unlock the full chemistry.